Making a beat is a fun and intuitive process that can start your career as a music producer, but it can also just be a way to relax while doing something creative. Regardless of your approach to beat-making, the tools available to create your first groove are at your fingertips.
Like every other craft, beat-making might seem easy at first, but as you improve, you’ll realize many subtle variations separate an amateur from a professional beatmaker.
With this article, I want to focus on what a beat is and how to make one, whether you just started your experience or you’re a groove master. I’ll analyze the aspects that define the beat and the tools to create a memorable one.
Let’s dive in!
What’s a beat?
A “beat” is what in other genres is called a track. It’s a drum and percussion arrangement often consisting of layering sounds, including a bass line, a melody, samples, and chord progressions. Percussions are not required to create a beat; it just needs to provide a rhythm pattern, just like this beat produced with a Nintendo Switch.
The concept of beats is highly popular in urban genres such as R&B, Hip-Hop, Trap, and the Lo-fi and EDM genres, and it refers to the rhythmic part of a song that the singer uses to rap or sing over.
The beat-making process involves creating a beat from scratch, and the beat maker is the person who makes, records, and edits the beat. Some of the most well-known beatmakers are Dr Dre, Metro Boomin, Swizz Beats, and Kanye West.
Some people confuse a beat maker with a producer; while producers can make beats, a beat maker isn’t always a producer. Though many producers start this way, the role of a beatmaker is somehow more confined to creating the song’s rhythm.
In summary, a beat is a fragment of an instrumental composition and arrangement to be used in a song. Now, let’s see what the essential elements of a beat are.
Elements of a beat.
Beats come in different forms and sounds, but there are a few elements that any basic beat should have.
- The Kick Drum. In a real drum kit, the Kick Drum is the big drum on the floor that provides the low-frequency punch.
- The Snare. The most basic pattern comprises the kick and snare drum, with the latter being higher in frequency, giving a recognizable rhythm and tempo to the beat.
- Hi-Hats. You can have close hi-hats with a shorter decay and open hi-hats, which last for longer. Depending on the sound you have in mind, you can alternate between them. Use hi-hats to make the rhythm pattern repetitive and catchy.
- Bass. A bassline will support the beat by adding some tonality and highlighting the chord progression and melody with low-frequency notes.
- Melody. The instrumental melody plays in a mid-high frequency over the drum and bass pattern.
- Chord progression. The chord progression will define your song’s mood and establish which notes to use for the melody.
What do I need to make my beats?
A computer
Assuming you don’t have a drum machine, the first thing you need is a computer. All new desktops and laptops can run software for music production and are compatible with audio equipment. Consider your computer’s CPU power before downloading plug-ins, VST instruments, and samples to keep a smooth workflow and avoid performance issues.
DAW or beat maker software
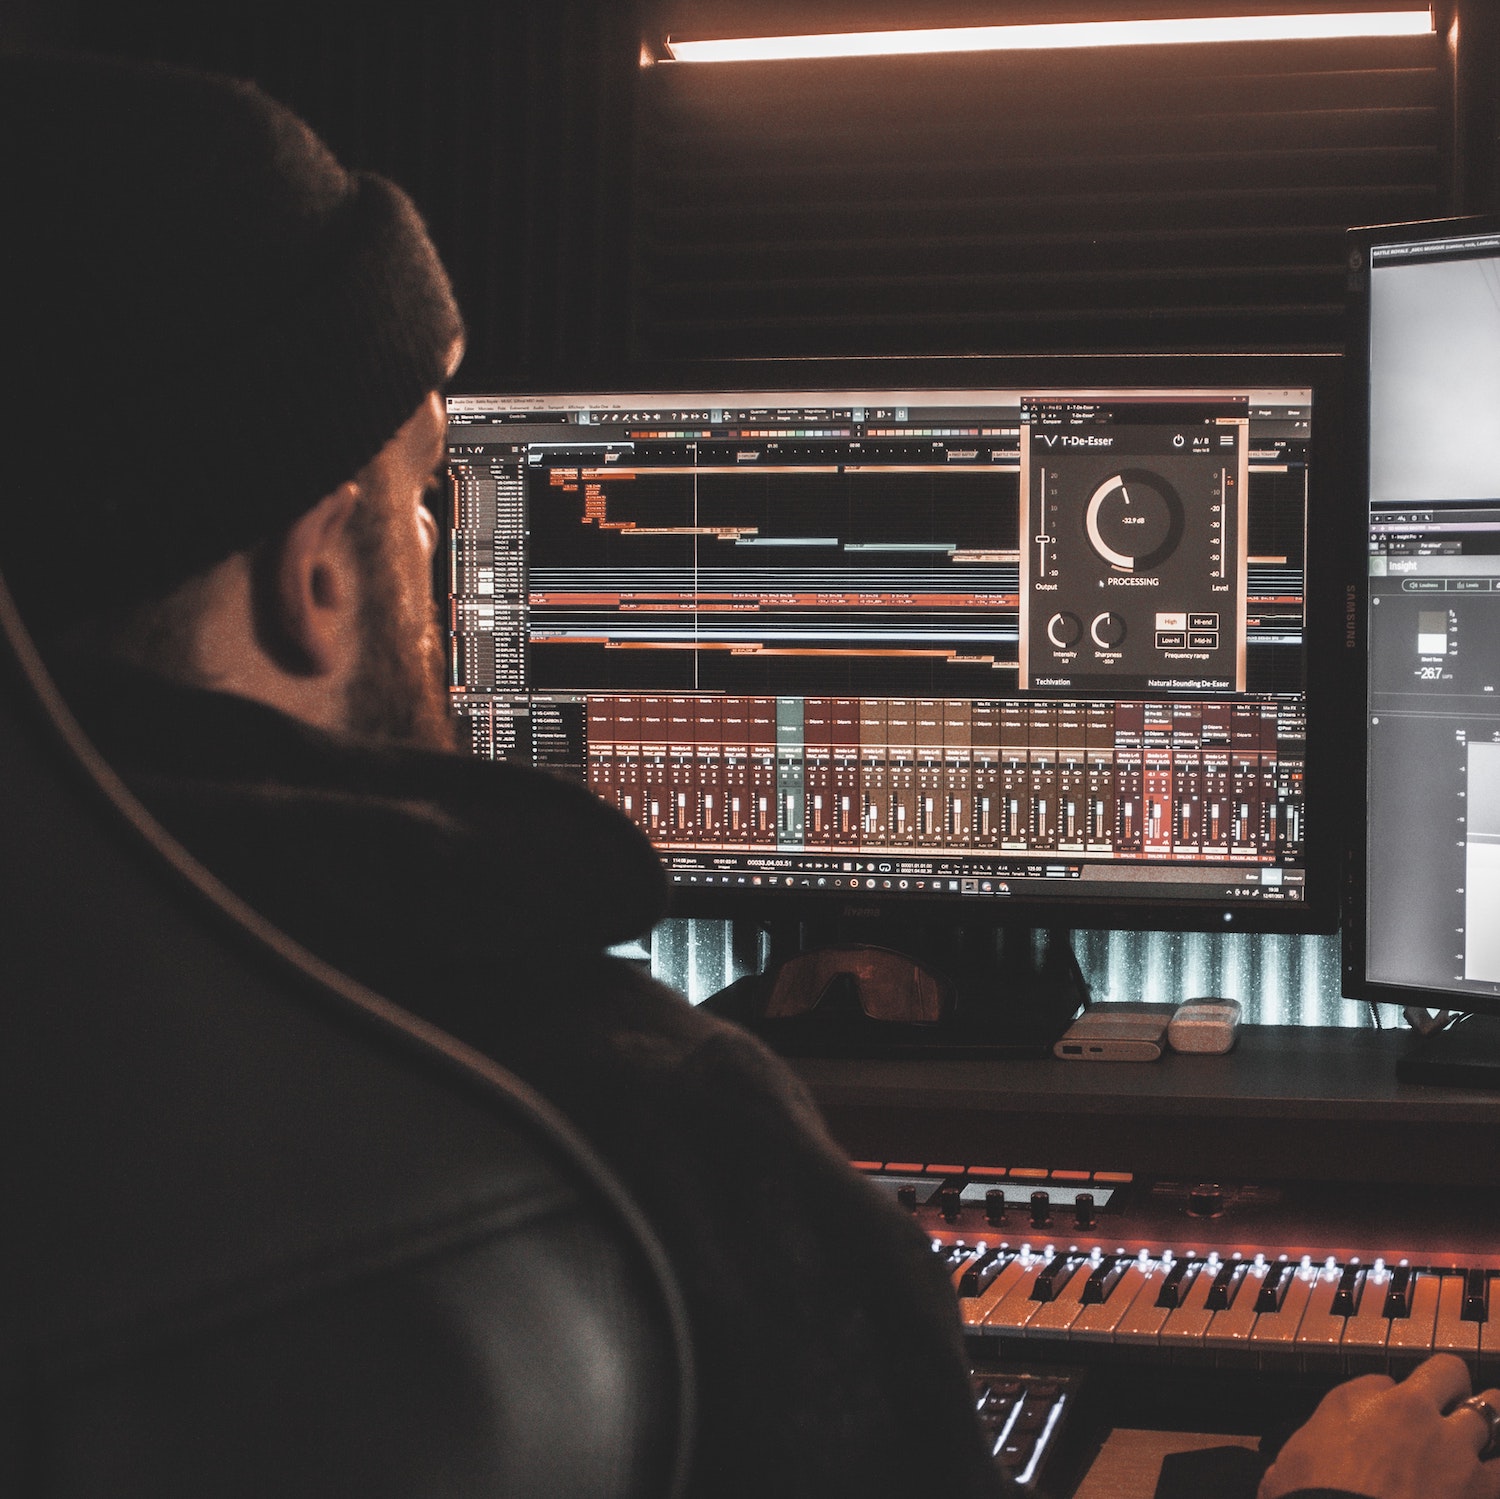
The digital audio workstation is your virtual recording studio. A DAW is computer software that allows you to record and edit sounds and create samples. There are dozens of DAWs available: FL Studio, Ableton Live, Logic Pro X, Studio One, Pro Tools, and many more.
Exploring the world of DAWs would require a separate article, so let me just redirect you to a piece I wrote a few months ago on the top 10 DAWs for musicians.
In addition to DAWs, you can use beatmakers like Splice and Soundtrap or beatmaker mobile apps like Beat Maker 3 or iMPC Pro 2 to sketch out your ideas in seconds.
Plug-ins and virtual instruments
You will need a few virtual instruments and effects to make the most of your DAW. With virtual instruments, you can make unique sounds and create melodies, while with effects processors, you will edit your beats to add effects such as EQ, reverb, and saturation.
Samples
Having a sample library or creating one yourself by recording sounds is a great option if you want to improve your workflow. You can find libraries by genre with hundreds, if not thousands, of royalty-free samples that you can use to build your beat. If you decide to record them yourself, remember to clean your recordings with a denoiser or other noise reduction techniques.
Headphones
One last thing I consider essential gear is a pair of headphones. Studio monitors would be better, but if you are a beginner or on a low budget, your headphones will help you mix the beat and listen to it with more clarity.
There are countless brands of studio headphones you can get. If you’re not ready to invest in studio headphones, you can start with the ones you have, which are definitely better than your computer’s built-in speakers. If you have $100, get a pair of Sony MDR-7506. You’ll thank me later.
Bonus tools for producing your beats.
These tools will help you produce a professional beat but are optional. Get these as you start to feel that you need to add more to your beats to make them perfect.
MIDI controller
With MIDI controllers, you can physically play the notes you write in the MIDI editor to give the rhythm a human touch. Some people prefer to use a MIDI controller because it allows them to generate more ideas, but you can also use your computer’s keyboard as an external controller.
When you need more features that only a dedicated MIDI controller can provide, choose one depending on compatibility with your DAW and budget. There are hundreds of options available, but if you’re a beginner, I’d suggest Akai as a brand: great value for money.
Audio interface
An audio interface allows you to capture sounds from your environment and translate them into bits, a language your DAW can understand and store. In simpler words, it helps you record sound on your computer with more quality than your computer’s built-in sound card.
An audio interface becomes necessary when you’re recording real sounds. If your production is exclusively digital, you won’t need it.
Microphone or recorder.
If you are recording instruments, you will need a recorder or a microphone to connect to your computer. You can choose between condenser and dynamic microphones, depending on whether you’re recording instruments or your own voice. The world of microphones is complex and professional recording is no trivial task. My advice for beginners is to get a great USB mic like the Blue Yeti and learn how to make the most of it.
Hot to make a beat: Step-by-step guide (for any DAW).
With the basics out of the way, it’s time to make your first beat. As with songwriting, you can start your beat with any element of your song. There’s no good or wrong way to do it: the important thing is to start somehow!
Step 1. Choose the mood of your beat.
Before importing samples and pressings all the buttons on your MIDI controller, define the feeling or vibe you want to achieve with your beat. You can set this by listening to reference tracks that evoke a similar vibe to the one you’re aiming at.
Decide your beat’s tempo in BPM. You will find that some genres use a range of tempos that differentiate them from others. For example, a Trap beat[A1] will usually be around 140 BPM (beats per minute). You can find references for BPM for your genre online.
Defining the vibe of your beat will allow you to choose the right sounds and have a clear vision from the start.
Step 2. Prepare your sounds, samples, and virtual instruments.
Once you decide on the mood, it’s time to choose your sounds. Here you have multiple options: you can go and look at your sample library of preference, record the instrument yourself or choose virtual instruments that fit with your beat’s vibe.
Step 3. Build the drums.
Most popular DAWs have a sequencer to arrange your samples to cut, chop, copy, paste and move around to create your drum beat. You can also find a drum rack plug-in to import your samples and make the drum pattern by adding the kick drum, snare, hi-hats, and other percussive elements like claps.
If you own a drum machine or a MIDI controller with pads, you can make your drum beat on it and record it as MIDI on your DAW, which will add a human touch to your groove.
Step 4. Rock that bass line.
You can use the kick drum in the previous step as guidance to develop a groovy bass line. Some producers prefer to begin with a chord progression and then use the root note to shape the bass line.
The bass line and harmonics must sit well when playing together. If something feels off, consider changing notes or pitch.
Step 5. Melodies and chord progressions.
Melodies are connected with chord progressions and keys. Use notes within the key and chord progression to keep your beat consistent. Use your instrument of choice and keep it in the mid and high frequencies, so it does not overlap with your drums and bass.
The chorus melody needs to grab the listener’s attention. Take your time to come up with something creative, enjoyable and catchy.
At this point, setting your DAW to play what you have done so far on a loop can help you understand how to proceed with your beat.
Step 6. Editing and final touches.
By now, you should have a basic draft of your beat. To define it further, start layering other FX sounds, more percussions to fill in gaps, and use effects processors to change pitch or add reverb.
Extend your beat by copying and pasting it into your DAW and make slight changes, like adding transitions and variations to make it sounds more vibrant. Make sure you have the right amount of repetition and variation, so listeners can familiarize themselves with the sound without getting bored.
Step 7. Mixing and mastering the beat.
With all these elements together, it’s time to do the mixing. This process makes all the instruments fit together without fighting for space in the audio spectrum. If you find that the melody and the hi-hats are struggling to blend together, you can use EQ, panning, and compression to filter sounds and shape your mix. Once you finish the mix, your beat is one step away from being complete.
As a beginner, you might want to leave the master to a professional or use a mastering service. If you are a DIY artist, you can try free mastering services like Bandlab or a specialized plug-in like iZotope’s Ozone or MasterCheck.
How to improve your beats?
The first beats will not sound like the ones you hear on the radio, but if you keep taking small steps every day, you’ll eventually make a beat you like. But what’s a good beat? Here are some things that PRO beat makers advise to achieve beats that people will enjoy.
- Use repetitive patterns. Catchy songs tend to repeat the melody or a beat. It makes the track recognizable and, hopefully, unforgettable.
- Add variation. A common mistake is keeping the beat the same for three to four minutes, which leads to people skipping your song after a minute. Adding variation at the end of each section will keep the listener engaged.
- Music theory knowledge. It’s always good to have a basic understanding of music theory. Learn the basics of keys, pitch, harmonization, arrangement, and orchestration.
- Invest in software or samples. If you are serious about your career as a beatmaker, you’ll need to stand out among the thousands of producers out there. Having the same samples as everyone else will limit your style and make your beats similar to other producers. You can always use your creativity to make a difference, but it helps to have your own unique sounds.
Final thoughts
Creating a beat is simultaneously as simple as crafting a rhythm pattern and as tricky as making each instrument perfectly fit together. Keep working on mastering your beat-making ability and techniques and crafting a unique sound: with time, you’ll start improving as a beatmaker.
Choose the right tools, be willing to learn new things, and don’t be afraid to experiment in your DAW. Stay creative, and make some beats every day!


